
10 green ideas to explore gardening with children
10 green ways to inspire little gardeners

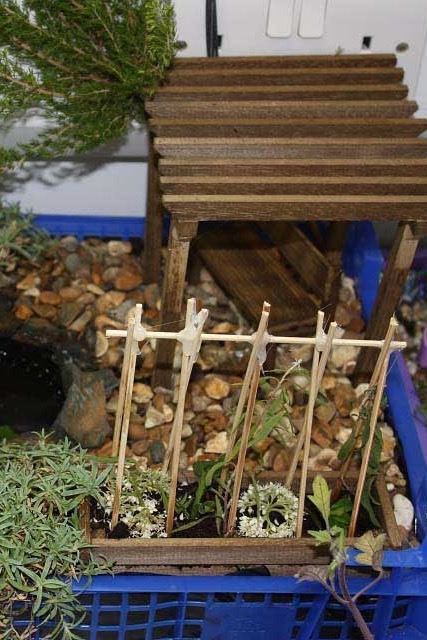
1. Enchanting miniature gardens
What it is:
Gardening can be a really creative exercise! Build an enchanting miniature garden to represent the setting for a story or theme that you’re exploring, like a wizard’s cottage or a fairy garden.
What you need:
- Paper and pens for planning
- A container such as a seed tray, fruit punnet or mushroom tray
- Potting compost or soil
- Plug plants, cuttings and/or seeds of your choice that fit your theme
- Natural materials such as moss, pines cones and twigs
- Items for extra structures or decoration such as modelling clay, bottle/jar lids, lollypop sticks, pebbles and gravel
- Miniature figures or toys fitting the theme
How to do it:
Encourage your young helpers to think of a story or a theme, and build your miniature garden around that theme.
Fill your container with soil and start by planting the largest plants. Sprinkle your small flower seeds carefully onto the soil and cover them gently with an extra layer of compost, and mist with a spray bottle. Place your miniature items, like furniture, clay figurines, signs, and small toys into the garden to add depth and character. Remember to keep misting and gently watering the garden to keep all the plants thriving.
Source: Schoolgardening.RHS
2. Grow your own vegetable garden
What it is:
Growing food can be incredibly exciting for little ones. But not just that - it develops an understanding of where our food comes from, and builds an appreciation for the hard work farmers do. It also inspires a love for the garden and the outdoors, as well as being immensely satisfying at harvest time. Think of the soups you can make!
What you need:
- Gardening tools (trowel, watering can, gardening gloves)
- Watering can
- Compost
- A spot in the garden
- Vegetable seeds or seedlings
How to do it:
Clear away weeds and grass in the area you have set aside for your vegetable garden. Use a garden fork to loosen the soil and mix some compost into it. Plant your seeds and seedlings in a row, making sure you follow the planting instructions for each particular crop.
Water your seedlings regularly and check on them daily. You can add some hay or straw on the soil around the roots if you want to give your plants an extra headstart - this will help the soil to retain moisture and it keeps some of the peskier bugs away. When harvest time comes, it’ll be the most magical experience for the little ones. Pick the vegetables and prepare a delicious soup - it will encourage even the pickiest eaters to take an adventurous bite if they’ve grown the vegetables themselves!
Source: Nurseryworld.co.uk
3. Sprouting seeds
What it is:
This activity shows exactly how each seed grows in its own time. By creating rows of different types of seeds, you can give the children a first-hand view of the incredible process of seed growth, day by day!

What you need:
- A variety of different types of seeds (beans, peas, vegetables, tree seeds, flower seeds and any others
- A paper towel
- A spray bottle
- Water
- An area with direct light (but no harsh sunlight)
How to do it:
Place the paper towel open on a flat surface in the area that receives direct light during the day. Place each different type of seed on the paper towel, in a line. Make sure to write a little note stating which one is which - this makes it easier to monitor each “crop” and compare it with the others.
Gently spray the different seeds. How often you need to spray will depend on the weather conditions, the idea is just to make sure the seeds don’t dry out completely. As they start to sprout, you will definitely appreciate having kept a record of which seeds are which plants. Once your sprouts have well-shaped roots and start to make leaves, they’re ready to transplant into the soil.
Source: Housingaforest.com
4. Build a terrarium
What it is:
A mini-terrarium is fun to build and easy to keep alive - you don’t have to have any green thumbs! Children have the joy of caring for their own creations on an ongoing basis, nurturing a love for nature. And you can let them get creative with personalising their own terrarium and designing it how they like.

What you need:
- Terrarium moss (you can buy this from most exotic pet stores or garden centres, it might come brown but it quickly grows to be green when it’s watered)
- Small pebbles
- Activated charcoal
- Soil
- Small plastic figurines
- Cuttings from succulent plants
- A container like a glass bowl
- Small plants
- A spray bottle
How to do it:
Line the bottom of the container/jar with pebbles by placing them evenly along the bottom. Next, add the charcoal to the jar to form an even layer above the pebbles. Add a thick level of soil above the pebbles - it needs to be thick enough to allow root growth for the plants it will hold. Now add in your succulent cuttings - succulents grow well if you simply stick the stem into the soil. Lastly, decorate your terrarium with the plastic toys and figurines and also sprinkle the moss over the soil. Keep everything alive and thriving by regularly misting the soil.
Source: Teaching2and3yearolds.com
5. Be a soil scientist
What it is:
This experiment shows children that plants, like people and animals, also need food in order to grow. By comparing the progress of a plant that has compost versus one that doesn’t have compost, children can understand the role of healthy soil in growing crops and plants.
What you need:
- 2 identical pot plants (you can opt for any plants)
- 2 larger pots (than the container plants)
- Ready-to-use compost
- Garden soil or John Innes seed compost
- Clear plastic bottle for watering container
- Sieve, trowels & gloves
- Equipment to record growth like paper and pencils
How to do it:
Fill one of the plant pots with soil, leaving room for the plant. Fill the other plant pot with a mixture of 80% soil and 20% compost. Create a well in the centre of the soil in both pots and place one of the identical plants in each pot so that one plant is in the compost and soil mixture but the other plant is planted in a soil-only pot.
Remember to mark them so that you can easily identify which is which. The pot plants need to be placed side-by-side to get the correct amount of sun and light exposure according to the needs of the plant you’re trying to grow. As they grow, ask the children to notice the difference - which plant is healthier? What differences can they see?
Source: Schoolgardening.RHS
6. Build a homemade bug house
What it is:
You may not love the idea of keeping bugs, but these containers encourage outdoor playtime, a love for nature, and they keep the little critters children find outdoors well contained.

What you need:
- An empty container with a lid
- Small piece of mesh for covering windows
- Decorating supplies like paper, markers, stickers, etc. (totally optional, your bug isn’t going to know the difference)
Supplies & Tools:
- X-acto knife
- Glue stick
- Packing tape
- Scissors or paper cutter (optional, for cutting decorative paper to size)
- Ruler (optional, for measuring paper before cutting)
How to do it:
Cut square shapes into the sides of the container to act as windows before giving the containers to the children. Let them have fun decorating the sides of the container by sticking papers, stickers, drawings, and any other pretty nick-nacks you may have, to the sides. Just be sure to cover the windows with blocks with mesh too. Before you add bugs, place some grass, twigs, and soil in the container so that it truly feels like home for a critter. Now, get out into the garden and catch some bugs!
Source: Researchparent.com
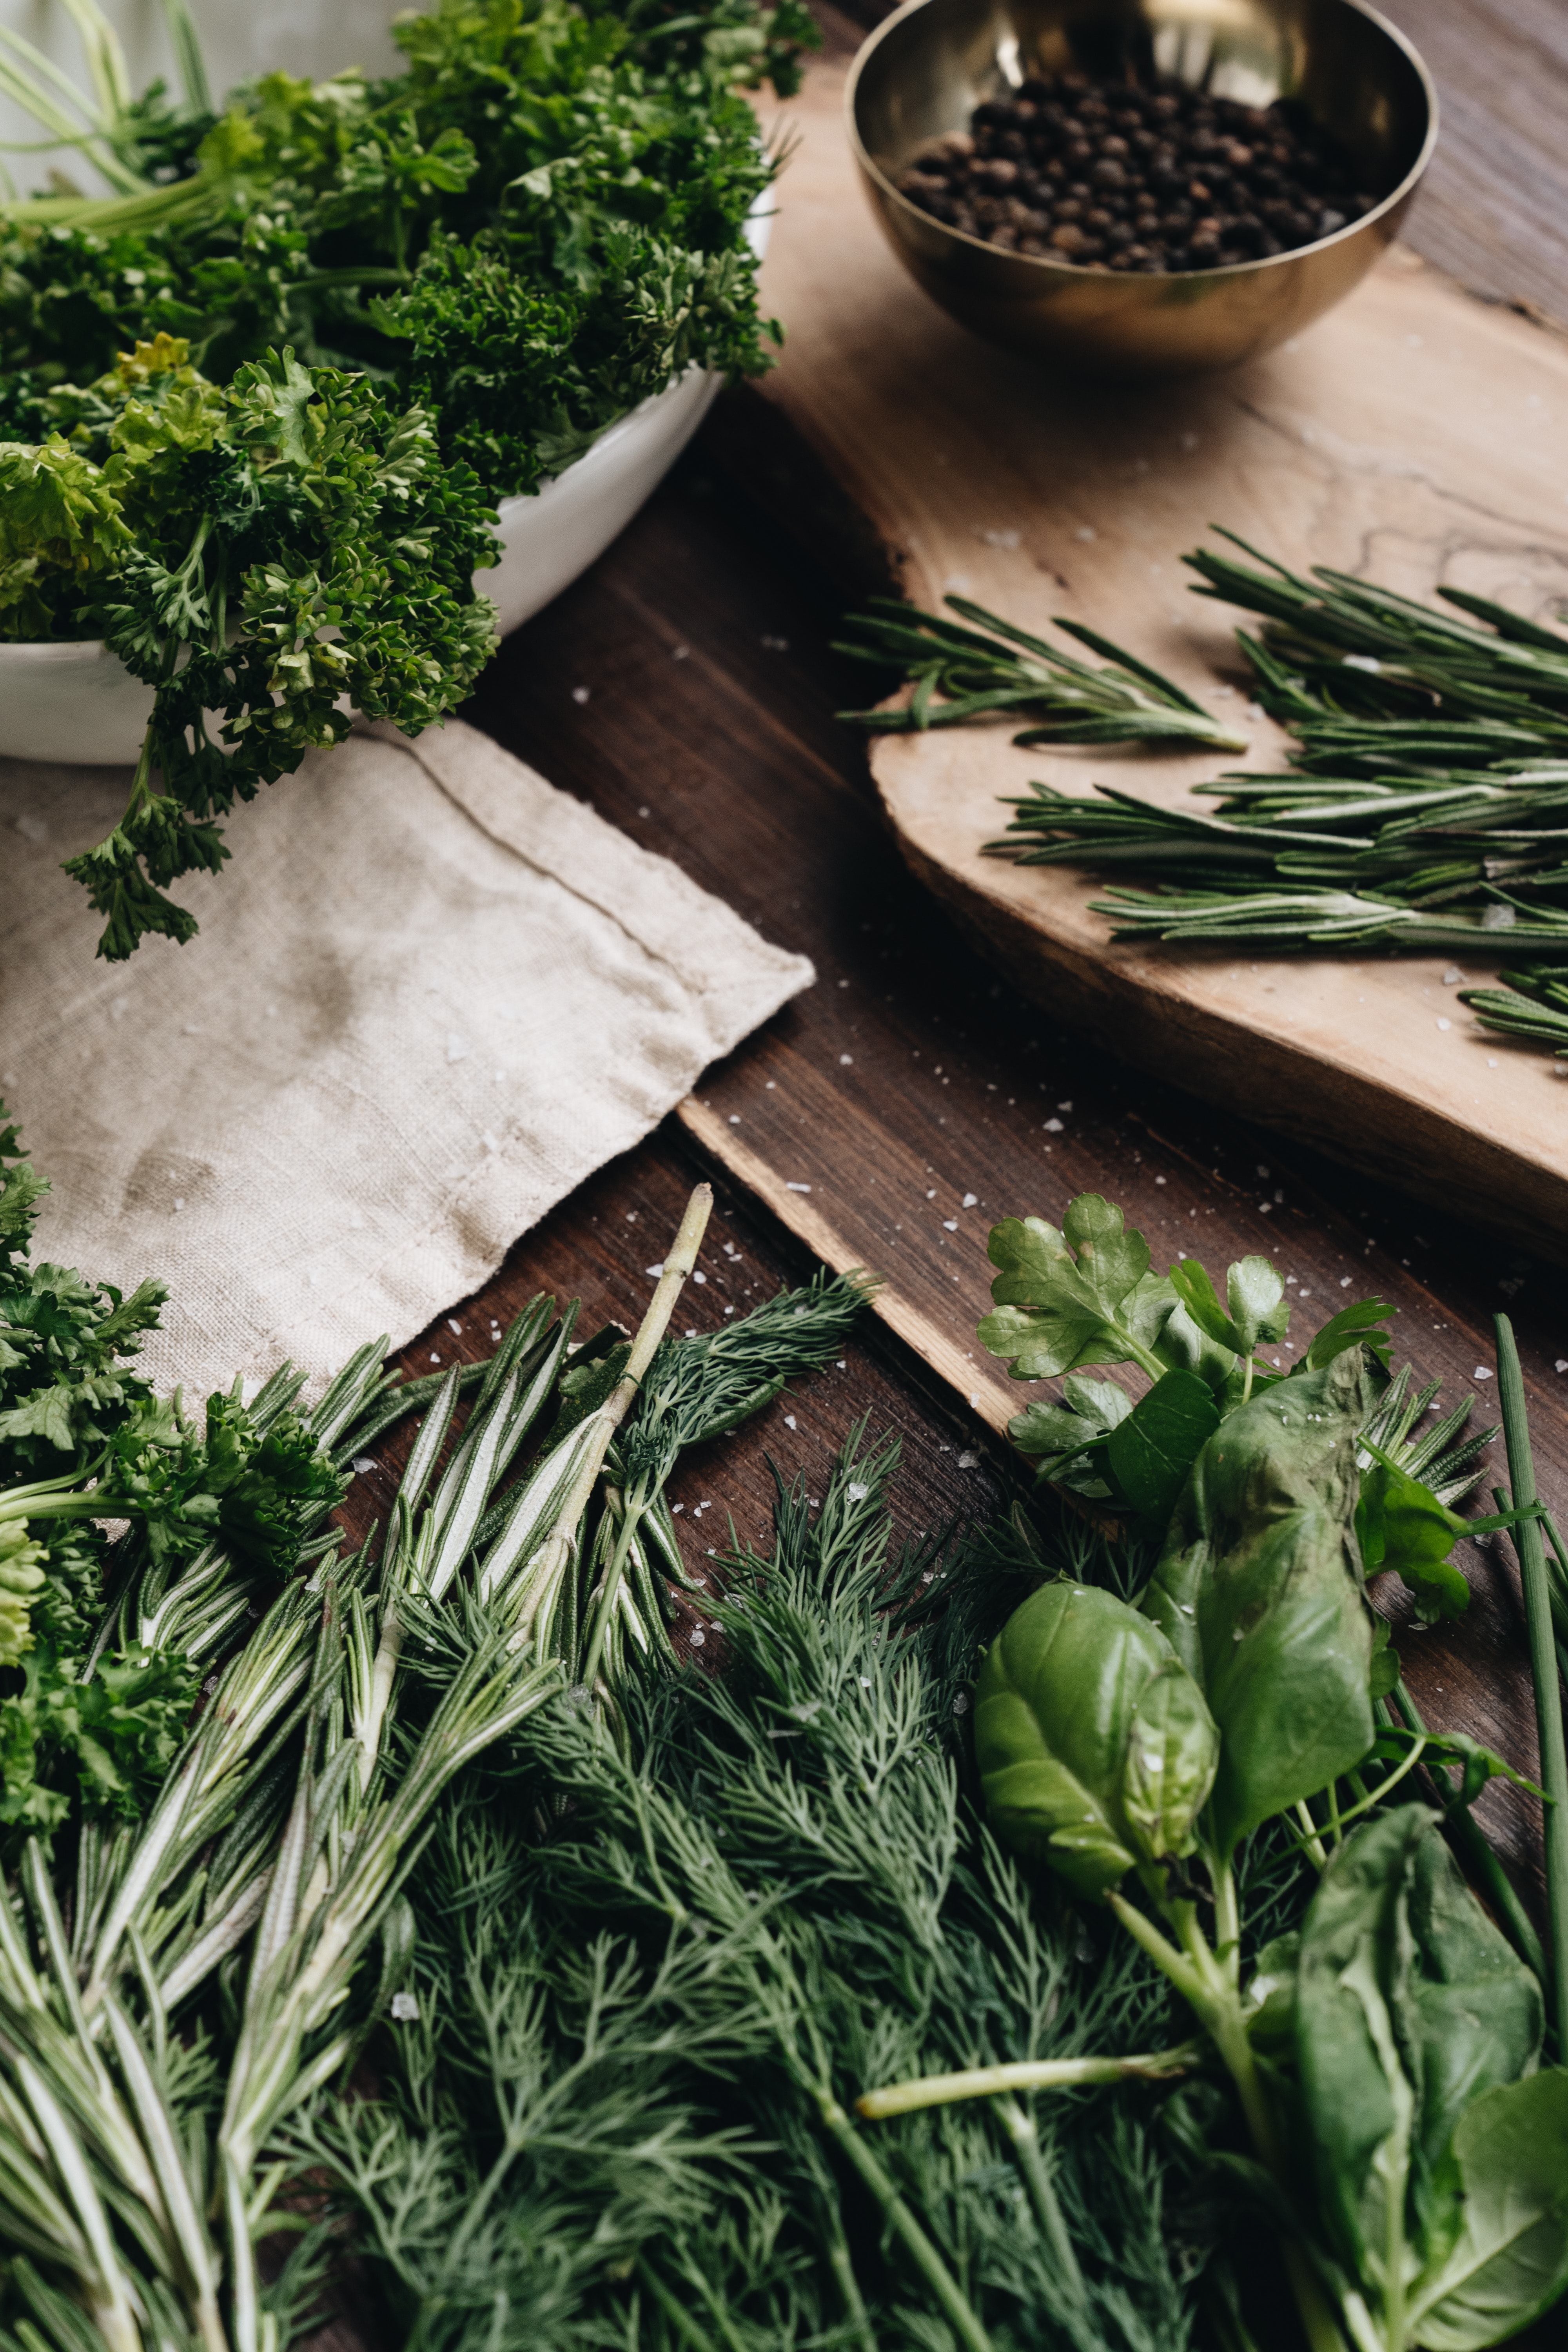
7. Exploring herbs
What it is:
Herbs are delicious when used in your home-cooked recipes. They’re also fun to grow and a great way to develop a love for nature when children have a chance to grow, harvest and eat their own herbs. You can use the chance to teach them about the different smells and taste of different herbs, too.
What you need:
- A variety of herbs to explore
- Herb seeds or seedlings
- Craft and cooking supplies as needed
- Watering can
How to do it:
Decide whether you prefer to grow your herbs from seeds or from seedlings. Follow the directions that come with the seeds or seedlings to ensure your plants grow strong and healthy, and in the right conditions.
Make it part of your daily routine to visit your plants with the children, gently water them with the watering can, and notice any new leaves and growth. When your herb plants are looking strong, start to pick the leaves and rub them between your fingers to release the smell. You can use this chance to talk about how the smells are different, and what herbs they like the smell of best. The children can then help pick the leaves to add into meals.
If you grow herbs like lavender, pick the flowers and leave them on a table to dry. You can give them to the children and ask the parents to add them to their bathwater - lavender is wonderfully soothing and is actually supposed to encourage deep and restful sleep!
Source: kidsgardening.org
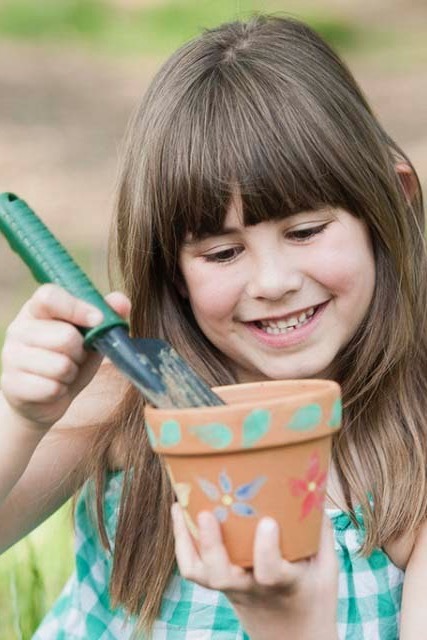
8. Plant pot decorating
What it is:
Decorating a plant pot personalises the experience of growing a pot plant, individualising each plant. It’s amazing to see how unique each pot comes out, despite giving a class of children the same instructions. Let their creativity run wild.
What you need:
- Terracotta or plastic pots
- A selection of recycled containers such as metal cans or buckets if you wish to use them
- PVA glue, paint, old gardening magazines, twine, paintbrushes or marker pens
- If using mosaics - pebbles or tiles and adhesive
How to do it:
Familiarise yourself with the plant pot you’re using for this. Terracotta is absorbent, making it suitable for decorating using marker pens or paint. Plastic pots are difficult to draw on, so you might want to use glue to apply decorative items like buttons, sequence, beads, and pictures instead.
Place the decorations in containers on the tables where the children will be working and allow them to choose how they wish to decorate their pots, demonstrating how to use the glue safely. Seal your decorations by applying a coat of PVA paint when you’re done.
Source: Schoolgardening RHS
9. Build a dinosaur garden
What it is:
This activity engages every part of the imagination as children try to picture what the world looked like when dinosaurs were around. What plants would they like to eat, and how different would it look compared to the world right now?

What you need:
- A space in the garden
- Plants like ferns, elephant ears, and philodendrons
- Planting implements like small hand spades
How to do it:
Research plants from the Mesozoic time period that you can use to recreate a true dinosaur environment. These include plants like tree ferns, horsetails, and Bald Cyprus plants - but you can adapt your choice of plants to suit your environment. Plant your foliage in a circle to create a border around the dinosaur garden. Decorate it with plastic model dinosaurs and tree logs to create a realistic dinosaur world for endless hours of jurassic park fun.
Source: kidsgardening.org
10. Direct seed sowing
What it is:
Learning how to sow seeds is one of the most important steps in successfully growing flowers or vegetables. It encourages a love for the earth, and also helps to develop fine motor skills and coordination. A perfect mix!

What you need:
- Trowel
- Hand rake
- Dibber
- Measuring stick
- Kneelers
- Gardening gloves
- Watering can
- Labels & waterproof pen/pencil
- String
- Sticks, or straws (to mark rows)
- Seeds
How to do it:
The depth and the spread between seeds depends on what seeds you’re sowing. Always look at the instructions on the packet. Create a line in the soil (the packet should tell you how deep to make this line). Next, gently drop the seeds in the line. If they’re large enough, move them apart with your fingers so they don’t touch. Sprinkle soil over them so that they’re gently covered and water them with a light mist so that the water doesn’t move the soil and expose the seeds. Remember to water the seeds regularly, and, before you know it, little sprouts will start to pop up from the soil!
Source: School Gardening.RHS
Please note: here at Famly we love sharing creative activities for you to try with the children at your setting, but you know them best. Take the time to consider adaptions you might need to make so these activities are accessible and developmentally appropriate for the children you work with. Just as you ordinarily would, conduct risk assessments for your children and your setting before undertaking new activities, and ensure you and your staff are following your own health and safety guidelines.

You might also like


Get 1000s of free EY activities
Want over 7,000 activities? See them in a free 14-day trial. Filter to target learning areas, age groups and topics, and get inspired.
Get started