
10 smart science experiments for toddlers
Spark their curiosity while giving them hours of fun.

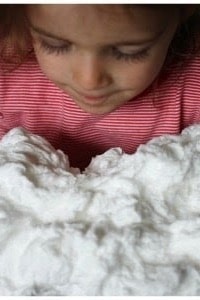
1. Microwave ivory soap
Ideal for ages:
Two and up
In a nutshell:
You’re never too old to be amazed when a bar of soap expands to six times its size! Use this science experiment for toddlers to explore different sensations because the soap starts as a solid, firm object and turns into a fantastic, soft, fluffy mess.
What you’ll need:
- Bar of Ivory soap (do not try this with any other brand of soap!)
- Microwaveable dinner plate
- Microwave
How to do it:
Start by feeling the soap, ask the children if it’s hard or soft, small or big. Take the soap out of its packaging and place it on the microwave-safe dinner plate, in the microwave. Set the cooking timer for a minute or two at most. Peep through the window of your microwave if you can and watch as the soap expands and expands. Once it’s fluffy, open the microwave door and give the soap a minute to cool down before you and the children feel it and play with it. Encourage the children to find new words to describe the soap now that it’s expanded.
Image credit: Happy Hooligans
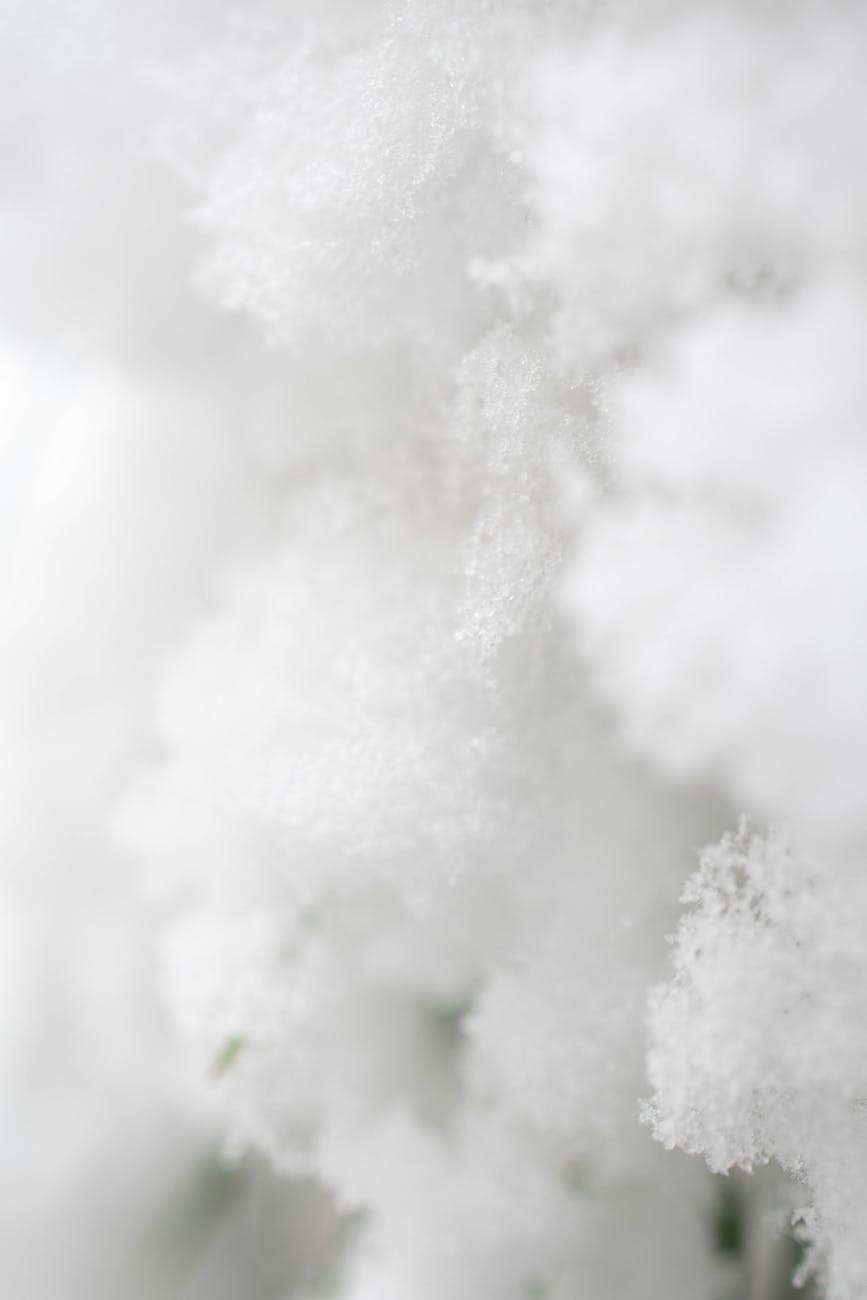
2. Sensory snow fluff
Ideal for ages:
Two and up
In a nutshell:
This experiment is great for both older and younger children. The younger children will find the sensation of the snow outrageously fun to explore, whereas older children will find it interesting to learn about how the different ingredients interact with each other to create snow.
What you’ll need:
- 1 cup of corn starch
- 1 cup of shaving cream
- Food colouring
How to do it:
Place the cornstarch in a bowl and dollop the shaving cream on top of it using a spoon. For a splash of fun, add a few drops of food colouring to the bottom and stir everything together. The mixture will feel a bit like grated cheese and at this point -get the children to help you squeeze it to mix it. It will form a ball, similar to a ball of dough. If it’s too crumbly and won’t stick together, add some shaving cream. If the doughy ball is too sticky, add some cornflour. Eventually, it will take on the exact texture of snow. Try sculpting a snowman, make a snow fort, or just enjoy the feeling between your fingers.
Experiment credit: Science Fun
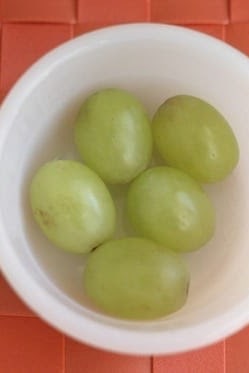
3. Grapes into raisins
Ideal for ages:
Three and up
In a nutshell:
Sometimes, the greatest discoveries lie in the most basic of life’s everyday events – like a raisin becoming a grape! This is a great science experiment for toddlers. Use it to talk about time and how everything around usages. When we can control how that happens, we can create a whole new food. This experiment isn’t edible, it’s just for the sake of learning.
What you’ll need:
- Grapes
- A bowl
How to do it:
Place a few grapes on a plate and keep them somewhere that’s likely to get an even temperature. Prepare the children for a long wait – this is an experiment they can keep track of for a few weeks. Get into a habit of looking at the grapes at the same time each day, like first thing in the morning or last thing at night. Notice the grapes and how they change; they’ll change and get a few wrinkles. Also, notice their size and how they shrink away. In the end, when you have perfect raisins on the plate, celebrate by opening a packet of store-bought raisins to snack on!
Image credit: Happy Hooligans
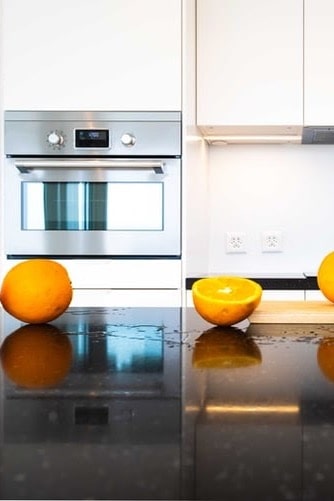
4. Orange fizz
Ideal for ages:
Two and up
In a nutshell:
Something exciting happens when you mix something acidic, like oranges, with something alkaline, like baking soda. If your little ones are too young to understand the science behind this, the fizzing will be exciting enough for them! This science experiment is a great way to see how different compounds create an exciting effect when they’re mixed together.
What you’ll need:
- An orange or clementine
- 1/2 teaspoon baking soda
How to do it:
Slice the oranges or cut them into wedges. Dip the slice or wedge into the baking soda, then put it into your mouth. The fizzing bubbles will feel similar to drinking a fizzy drink. You can explain to older children that the bubbles are made when the acidity of the orange mixes with the baking soda and forms carbon dioxide bubbles. It’s completely safe and quite tasty!
Activity credit: Science Fun
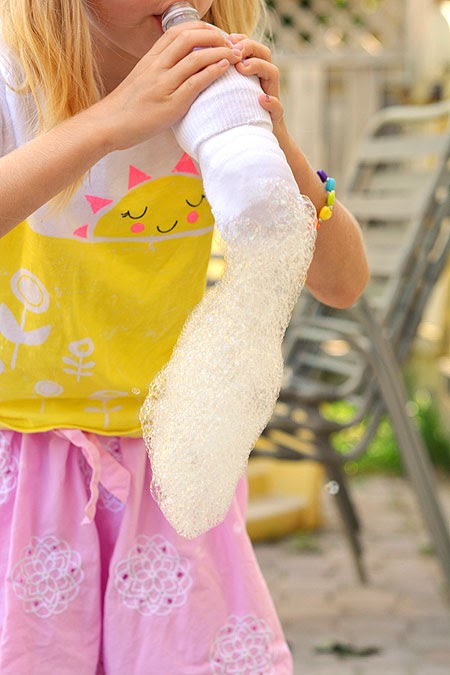
5. Bubble snake
Ideal for ages:
One and up
In a nutshell:
This experiment is endless fun for the whole family. It introduces science in a fun and engaging way that doesn’t feel educational at all.
What you’ll need:
- An empty water bottle (choose one you won’t mind cutting)
- A sock (the sock will also be cut)
- Dish soap
- Water
How to do it:
Cut off the bottom of the water bottle and slide the sock over the side you’ve just cut. Pull the sock over the entire bottle so that the sock is completely stretched in its full shape it should fit snugly over the cut side. If it doesn’t, use an elastic to get it tighter over the bottle. Mix about half a cup of water with a tablespoon of dish soap (don’t worry too much about getting those exact amounts). Dip the side of the bottle that is covered with the sock into the bubble mixture and blow into the top end of the bottle-you should now have snake-shaped bubbles galore!
Image credit: One Little Project
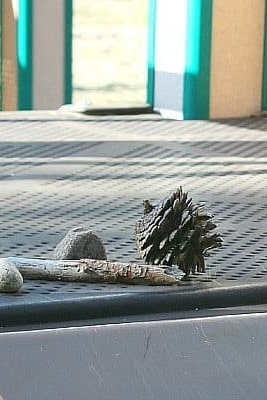
6. Ramps and friction on the slide
Ideal for ages:
3 and up
In a nutshell:
This activity will be fun for toddlers of all ages, but toddlers from three and up will grasp the physics slightly better than the younger ones! It’s a fun way to explore one of the basic laws of science – gravity. Children love to roll things down slides, and this is the perfect opportunity to sneak some extra learning in there.
What you’ll need:
- Slide
- Various objects (pinecones, sticks, and rocks, or small toys)
- Stopwatch or timer on your phone (optional)
How to do it:
Find a few items you can safely roll down the slide, like a pinecone, some pebbles, a scarf or something you brought from inside the house. One person can climb to the top of the slide while the other stays at the bottom (accompany small children who are at risk of falling). Roll each item down the slide, one at a time, and count together to measure how long it takes to reach the bottom. You could use a stopwatch, but this is a great opportunity to practice counting too. Once all the objects have had their turn to go down the slide, talk about why some items went faster than others – it’s because of friction that creates resistance. Talk about why the smooth scarf will reach the bottom a lot faster than the objects that are chunkier and pricklier.
Image credit: Buggy and buddy
7. Storm in a glass
Ideal for ages:
2 and up
In a nutshell:
Clouds, a dark looming sky, and a clear view of it all happening; a storm in a glass is an exciting experiment for young scientists. It shows them exactly what happens when clouds get too full of water, and why that means it has to rain.
What you’ll need:
- Shaving cream
- A large glass
- Water
- Food colouring
- A spoon
How to do it:
Fill up the glass – half with water and half with shaving cream.Smooth the shaving cream using the back of the spoon so that it creates a flat layer. In a separate glass, combine 10 drops of food colouring with half a glass of water – this will be your rain. To create the storm, use a spoon to put the coloured water onto the ‘clouds’, one spoonful at a time. Slowly, the shaving cream clouds will fill up and release the rain. Explain to the children how this works: the shaving cream is the cloud and it holds onto the water perfectly. As more and more water weighs down the shaving cream, it gets heavier. After a while, it can’t take any more water and it creates rain, just like a real rainstorm.
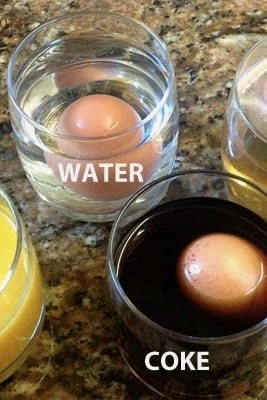
8. Dissolving eggshells science experiment
Ideal for ages:
Two and up
In a nutshell:
This science experiment for toddlers is a great STEM exercise for a tactile and visual experience. The different liquids show just how our outcomes can change. Some of the liquids will show no change in the egg, while others will be quite dramatic. It’s a great chance to talk about what the liquid is and why it does or doesn’t break down the eggshell.
What you’ll need:
- 2-4 clear glasses
- 2-4 eggs
- Water
- White wine vinegar
- Coke
- Orange juice
- Paper towel
- Pencil and Notebook (to write down observations)
How to do it:
Add each liquid to its own glass (the coke, vinegar, water, and orange juice). There should be enough to submerge the egg once it’s in the glass. Give your little scientist the chance to place an egg gently into each glass. Now your little one can cover the glass with a small cloth (this part is optional, but some children like to “put things to bed” when there’s waiting involved) and leave it to stand for 24 hours. After 24 hours have passed, take each egg out and lay them down side-by-side for comparison. What does your scientist observe? Most likely you’ll find that the egg that was in vinegar has no more shell, just the membrane holding it together. It will also look larger than the others, this is because it has started to absorb the liquid it was submerged in because its shell was no longer sealing it. Talk about why the egg is bigger, and what they notice about the other eggs.
Image credit: Blue Bear Wood
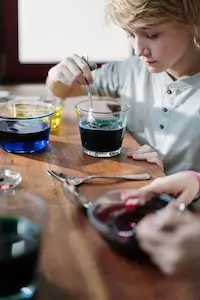
9. Magic milk experiment
Ideal for ages:
Two and up
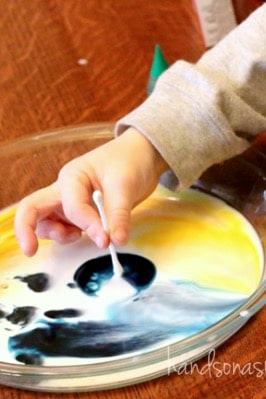
In a nutshell:
Learning about primary colours is exciting when you get to see the patterns and swirls of red, green and blue as they interact with each other. It’s more of a magic trick than a science experiment, but it’ll go down an absolute treat with the little ones.
What you’ll need:
- Milk
- Liquid food colouring
- Dish soap
- Q-Tip or cotton swab
How to do it:
Pour the milk into a flat, wide dish (a pie dish works well). Add a few drops of food colouring to the milk – why not try using the primary colours to make it even more educational. Make the blobs of colour far from each other so that they don’t touch. Dip a q-tip into some dishwashing soap and use it as a magic wand by swirling it in the milk where you have blobs of colour. The soap will repel the colourant, creating patterns in the milk. It won’t be long before all the colours combine with each other.
Image credit: Hands On As We Grow

10. Garden experiment
Ideal for ages:
Three and up
In a nutshell:
Each tiny seed has a story. Germination is the start of a journey that is really fun to watch. This experiment helps children to understand how important sunlight, water, and the right climate for seeds to grow, and for plants to thrive.
What you’ll need:
- 3 small jars
- Potting soil
- Water
- Ice
- Small flower seeds
How to do it:
Start by placing ice cubes in one jar, water in the second, and soil in the third. Count out your small flower seeds and divide them equally into three parts, this is a fun opportunity to practice counting carefully together. Put each equal part of seeds into each of the three cups. Place the ice cup in the freezer, the water cup in the sink away from sunlight, and the cup with soil in a window sill, remembering to water it when the soil looks dry. We checked each of our cups of seeds after a week. As you can imagine, the only cup with seeds that germinated was the cup with soil.
Image credit: Engineer to SAHM
Please note: here at Famly we love sharing creative activities for you to try with the children at your setting, but you know them best. Take the time to consider adaptions you might need to make so these activities are accessible and developmentally appropriate for the children you work with. Just as you ordinarily would, conduct risk assessments for your children and your setting before undertaking new activities, and ensure you and your staff are following your own health and safety guidelines.

You might also like


Get 1000s of free EY activities
Want over 7,000 activities? See them in a free 14-day trial. Filter to target learning areas, age groups and topics, and get inspired.
Get started